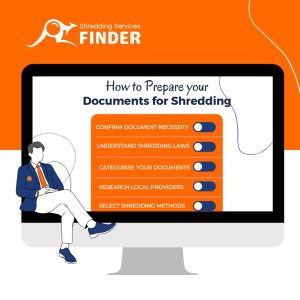
How to Prepare Your Documents for Shredding: A Complete Guide
Properly preparing your documents for shredding is the most effective way to ensure your sensitive data is destroyed quickly and securely while avoiding unnecessary contamination fees. Whether you are a business owner or a home user, following a clear preparation checklist saves time and protect your privacy.
1. Identify and Categorize Your Sensitive Documents
Start by sorting through your papers to identify items containing personal identification, financial records, medical information, or legal data.
- Audit Your Retention Policy: Check Australian legal requirements—some tax and business documents must be kept for 5 to 7 years before destruction.
- Separate Media: If you have digital media like CDs, USBs, or hard drives, keep them in a separate pile as they require different industrial shredders.
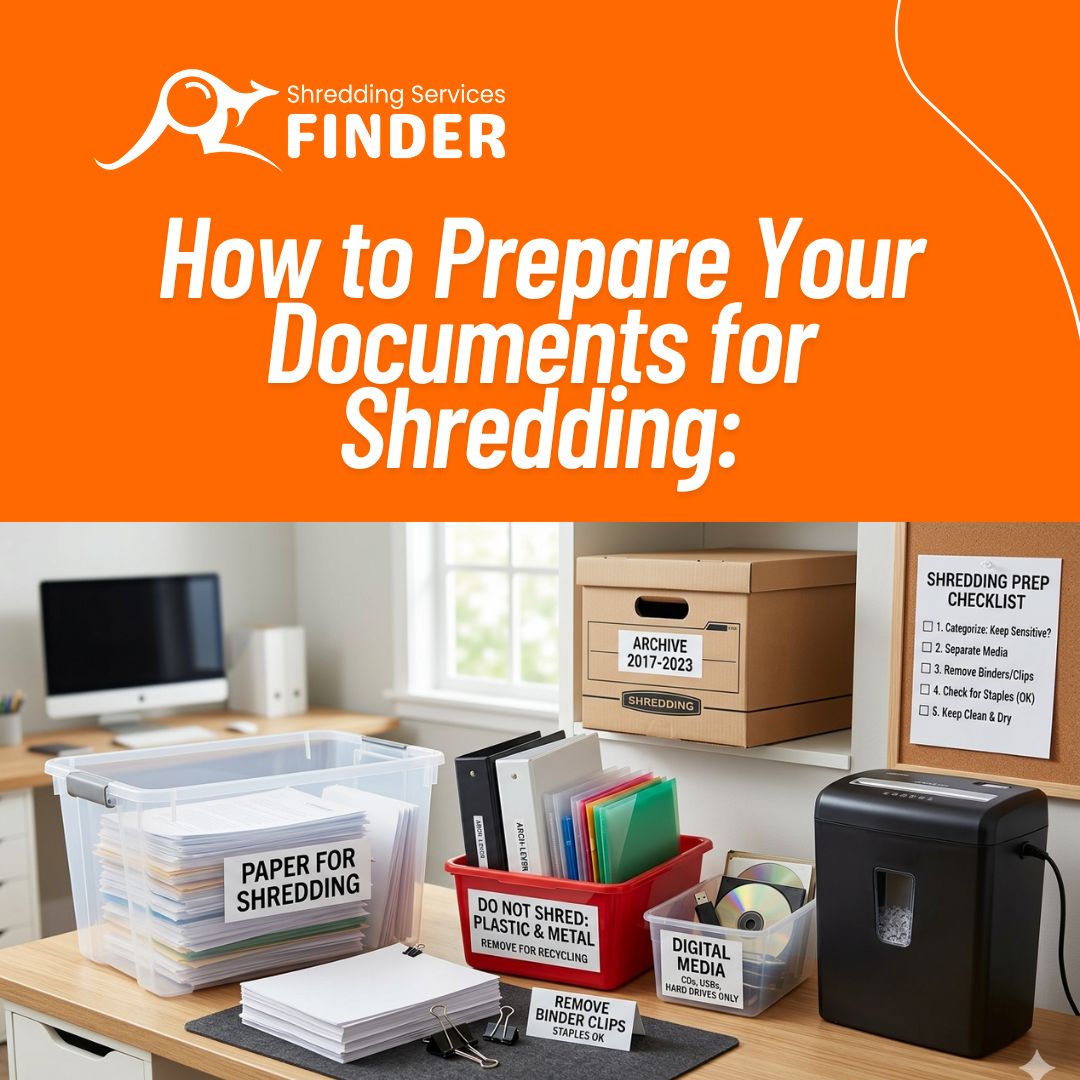
2. Remove “Non-Shreddable” and Restricted Items
Professional shredders are powerful, but certain materials can cause jams, damage blades, or contaminate recycling streams.
- ✅ What can stay: Small staples and standard paper clips are generally fine for industrial-grade mobile shredding services.
- ❌ What must go: Remove large binder clips (bulldog clips), heavy-duty metal fasteners, and spiral notebook coils.
- 🚫 Restricted Contaminants: To avoid potential contamination fees (which can range from $110 to $300+ GST per bin in some regions), remove the following:
- Plastic sleeves and transparency sheets.
- Arch lever folders and 3-ring binders.
- Hardcovers from diaries or books.
- Cardboard and magazines.
3. Ensure Documents are Clean and Dry
Moisture is the enemy of efficient shredding.
Wet or mouldy paper cannot be shredded as it clumps together and can damage the machinery.
- Store your shredding bins or boxes indoors in a dry area.
- Ensure no food waste or liquid containers are mixed in with your sensitive papers.
4. Pack Securely for Collection
Once sorted, place your documents into your chosen container.
- Secure Bins: If using provided secure bins, place papers loosely inside. Do not overfill; the lid must be able to close and lock securely.
- Archive Boxes: If using boxes, tape them shut and label them clearly as “For Shredding”.
- Bags: If using prepaid shredding bags, such as those from Bag-N-Shred, only fill to the marked line to ensure they can be sealed properly.
Quick Preparation Checklist
| Task | Status |
|---|---|
| Check for retention dates (5-7 years for many records) | ☐ |
| Remove binders and plastic sleeves | ☐ |
| Separate hard drives/digital media from paper | ☐ |
| Ensure documents are completely dry | ☐ |
| Lock the bin or seal the box before pickup | ☐ |
By taking these steps, you ensure a seamless Certificate of Destruction process and help the environment by keeping the shredded paper clean for recycling.
Ready to clear out the clutter? Search for a Shredding Service Finder near you to book a secure on-site or off-site purge today.
Would you like to know more about the legal retention periods for specific Australian business documents?